The wrong way to use Bitmap2Component
There are many, many blogposts and videos about how to convert a bitmap image into a KiCad module for putting on a PCB.
Here are a two:
http://www.re-innovation.co.uk/web12/index.php/en/blog-75/230-adding-logo-to-kicad
None of them worked for me. I eventually got it working with a slightly altered workflow.
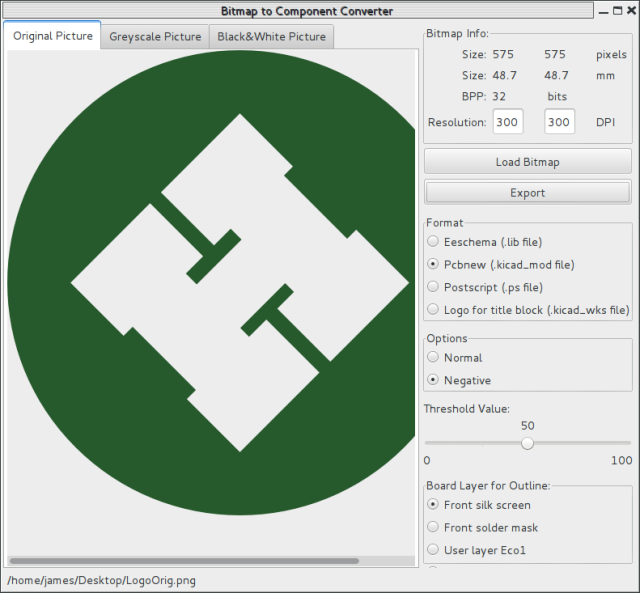
The first step is the same, using Bitmap2Component to create a KiCad module from a bitmap:
With MY version of KiCad, you get a .kicad_mod file. I put this file into my project folder, thinking this this was a fairly sensible thing to do:
Then I added the file itself as a library in PCBnew Preferences->Library Tables:
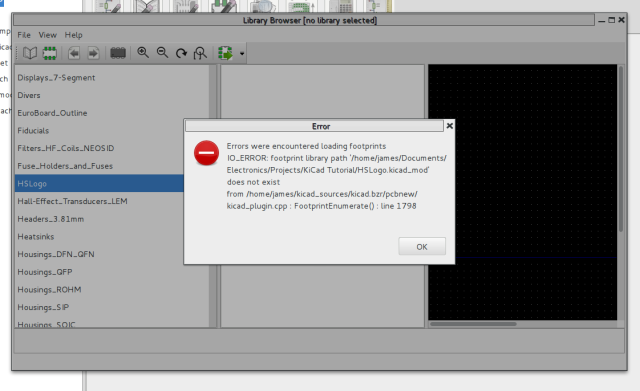
But when I tried to add this module onto the PCB, I got an error:
Since KiCad changed its library format some time in the past, I thought maybe that Bitmap2Component still produced legacy libraries.
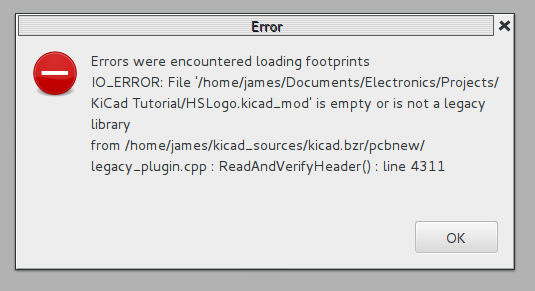
So I changed the Plugin Type from KiCad to Legacy in Preferences->Library Tables.
I got a different error:
After much swearing, I finally figured out what I was doing wrong.
What I was doing wrong (and how to do it right)
Bitmap2Component DOES produce the current (not legacy) module files.
But Library Tables expects the path of the folder they’re in, not the path to the module itself. This is why KiCad has the .pretty folders. They’re full of .kicad_mod files.
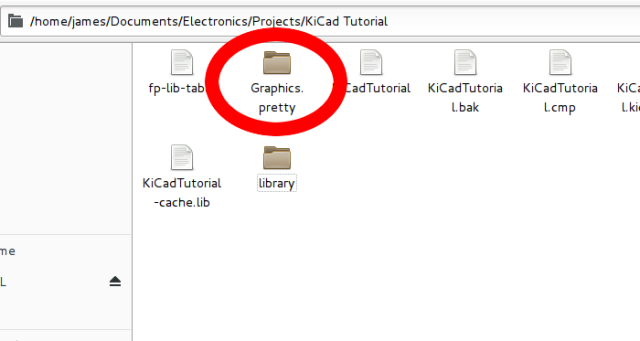
So I moved the module file I created to a Graphics.pretty folder inside my project:
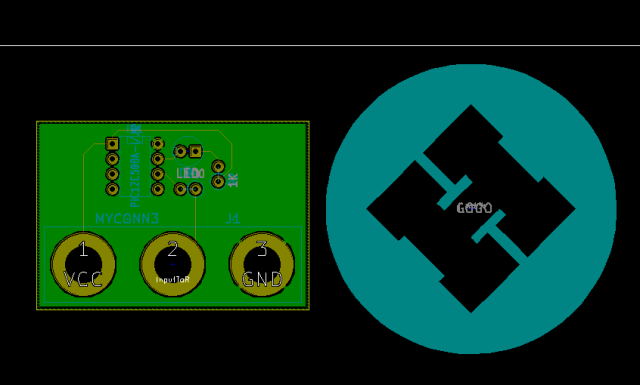
And then I changed the Library tables path to point at that folder (with the KiCad plugin type). After that, success!
Apart from image scaling, but that’s a ranty blog post for another day.

Did you end up scaling it?
Hi Jesse,
Honestly, I can’t remember how to get the scaling right. Looks like I’ll have to do another short blog post about it.
If it helps, I did just write this up: http://def-proc.co.uk/b/kilogo/
Thanks for your notes on the library location, that was exactly what I didn’t know, at exactly the right time!